Photo tips
How to take a photo that gets accepted
Follow these human examples. Markers show exactly what reviewers (and our checks) look for. In Create, after you pick a country and document, you'll also see a live allowed / not-allowed list for glasses, jewellery, hair accessories, caps, ears, and more for that document.

At home setup
Phone at eye level, plain wall, window light
You don't need a studio. Hold the phone steady, look into the lens (not the preview), and keep your head upright — then upload that frame in Create.

Step 1
Face the camera square-on
Hold the phone at eye level. Shoulders parallel to the wall. Chin neither tucked nor raised.

Step 2
Use soft front light
Stand near a window in daylight. Turn off strong overhead lights that create shadows under the eyes.
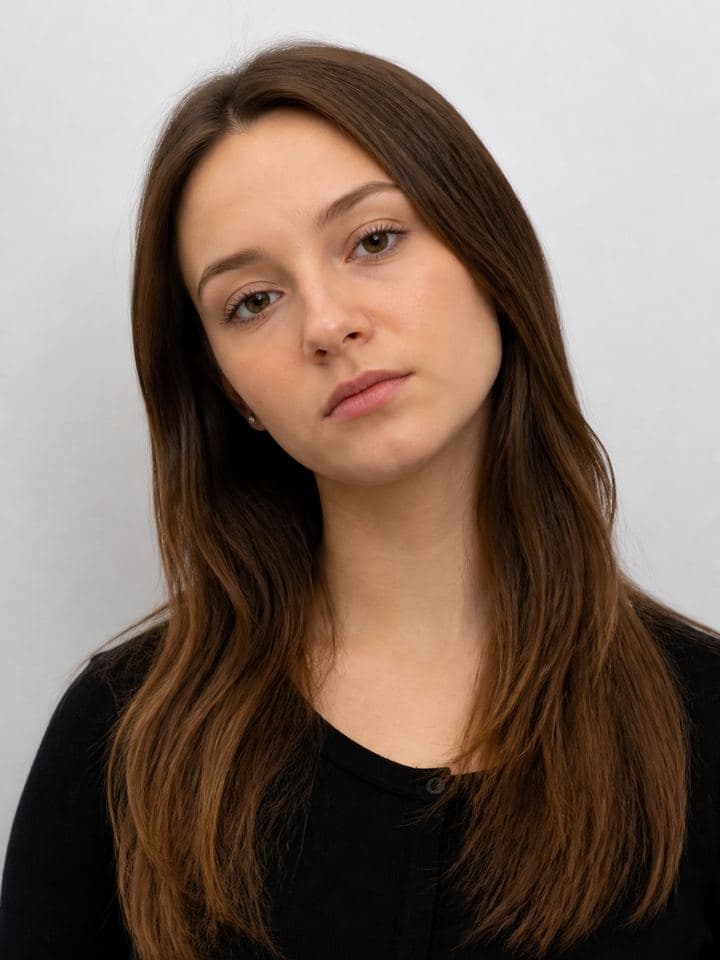
Step 3
Avoid tilt and filters
A small head tilt fails biometric eye-line rules. Beauty apps that reshape your face will get rejected in real life — and we never apply them.
Do
- Look straight at the camera with both eyes open
- Use soft, even light from the front (a window works well)
- Keep a neutral expression — mouth closed unless the document allows a smile
- Remove glasses if your document forbids them
- Show your full head including hair and chin
Don't
- No landscapes, pets, memes, or screenshots without a clear face
- No beauty filters or apps that change your facial features
- No hats or sunglasses (follow country rules for religious coverings)
- No tilted head or looking away from the camera
- No busy backgrounds or other people in the frame
Ready? Upload next.
On Create, pick your document, then tap the upload area — we'll guide the rest.